Better contrast techniques in Lightroom and Photoshop
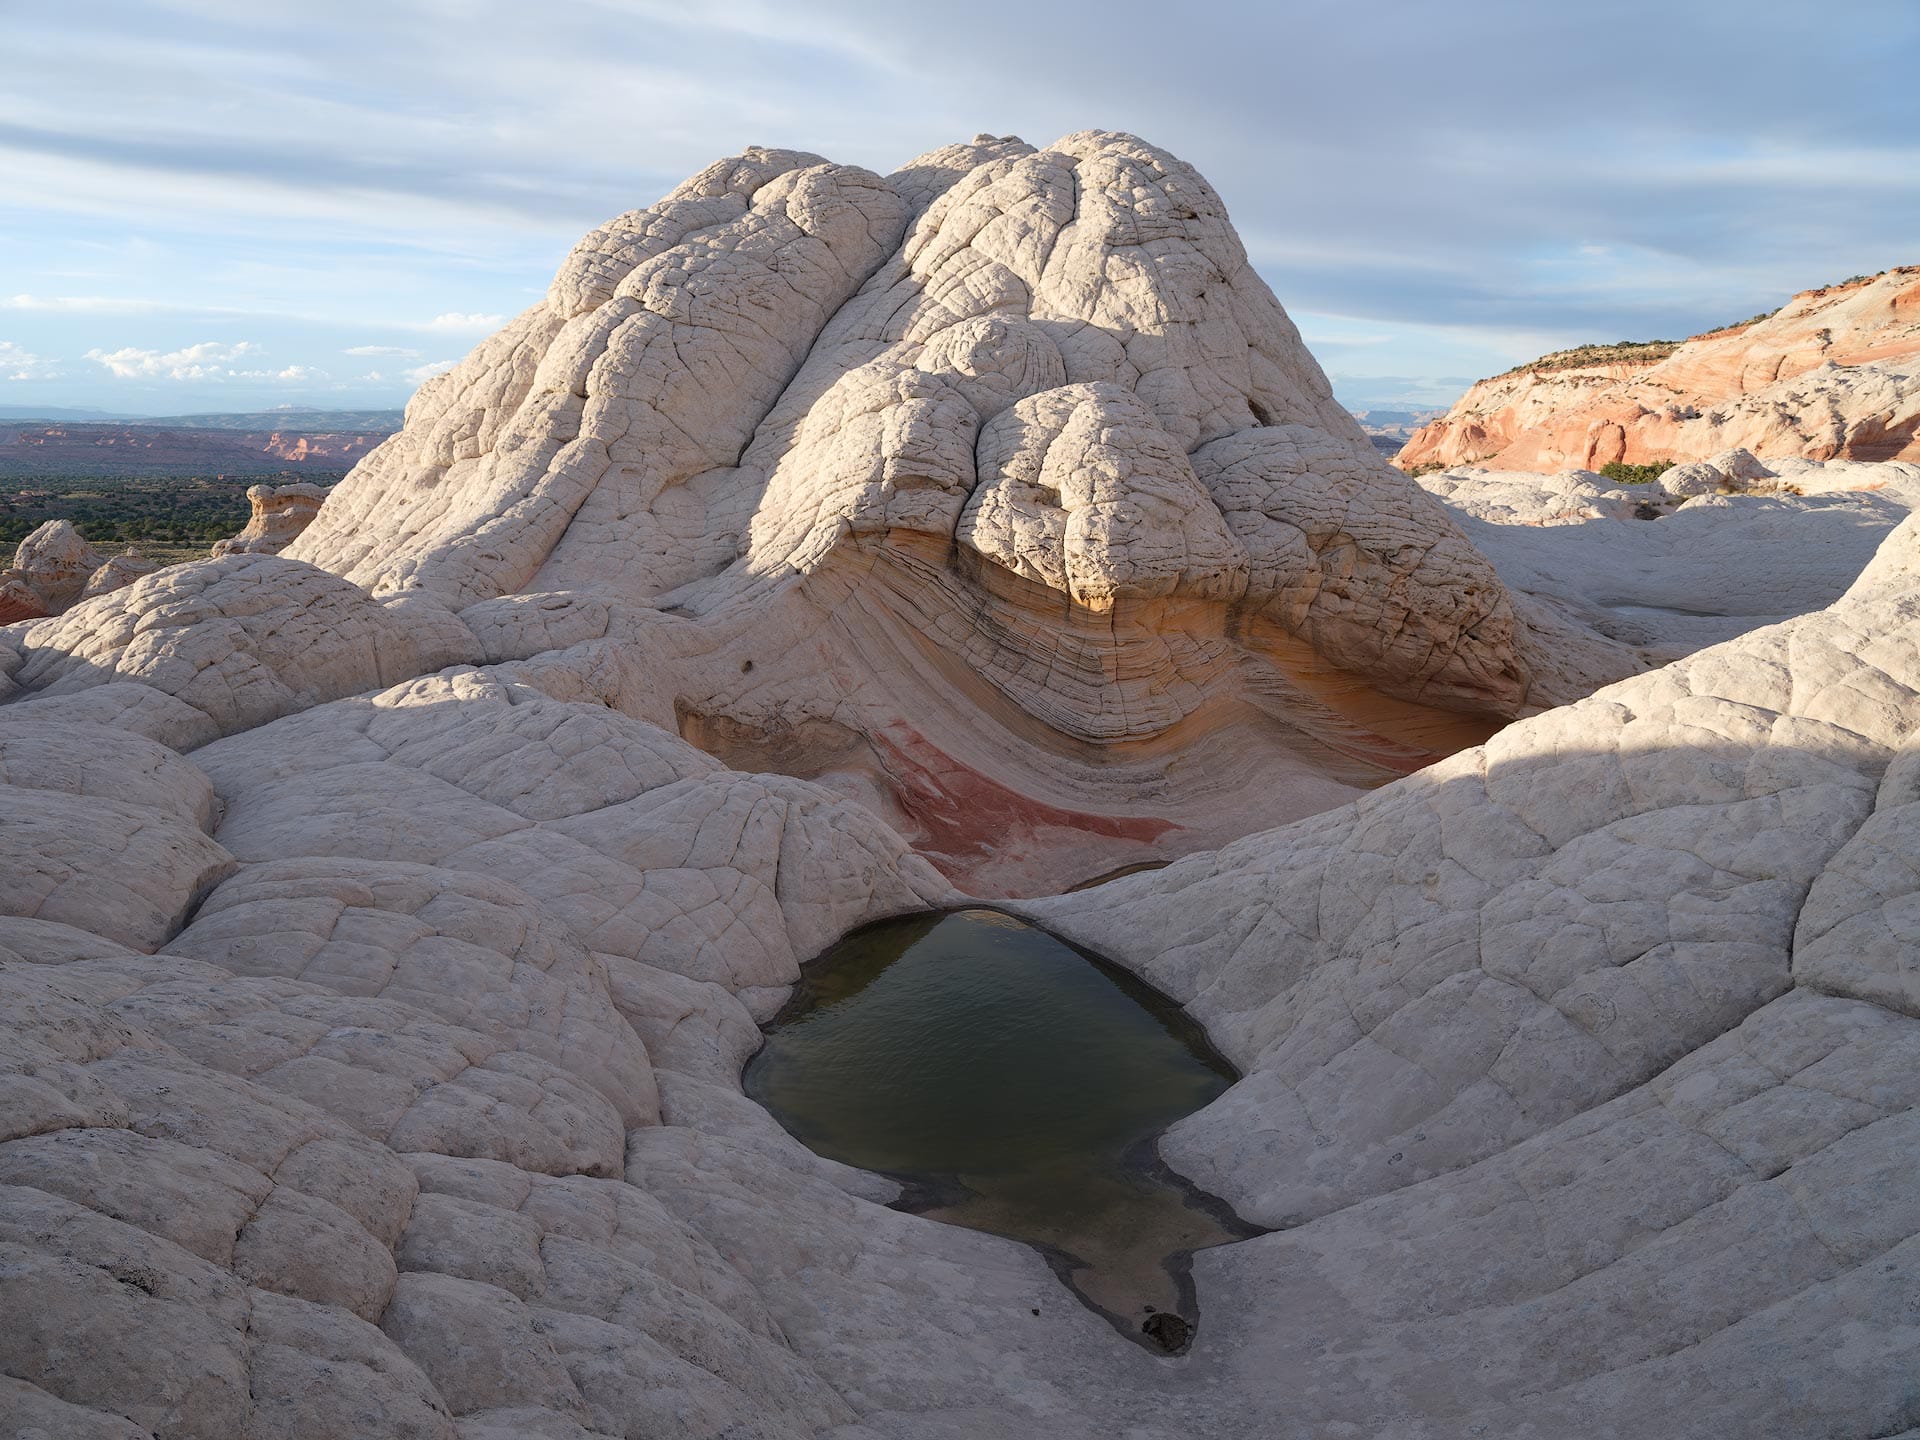
Every digital camera struggles with outdoor images captured during the daytime when bright, harsh highlights and dark, muddy shadows are in abundance. Even on a partly cloudy day with the sun sitting low in the sky, it's easy to supersede the dynamic range of a digital camera sensor. For example, the straight out of camera raw image below was captured less than an hour prior to sunset, so there's nice side light and shape, but the light is harsh; especially at the brighter end of the tonal scale. The shadows are also dim and lifeless.
We can help resolve this by dropping the highlights and lifting the shadows. This softens the tonal roll-off from light to dark and reveals more detail and texture in those regions. Here's the same image edited in Lightroom with the Highlights and Shadows sliders pushed well into the negative and positive, respectively.
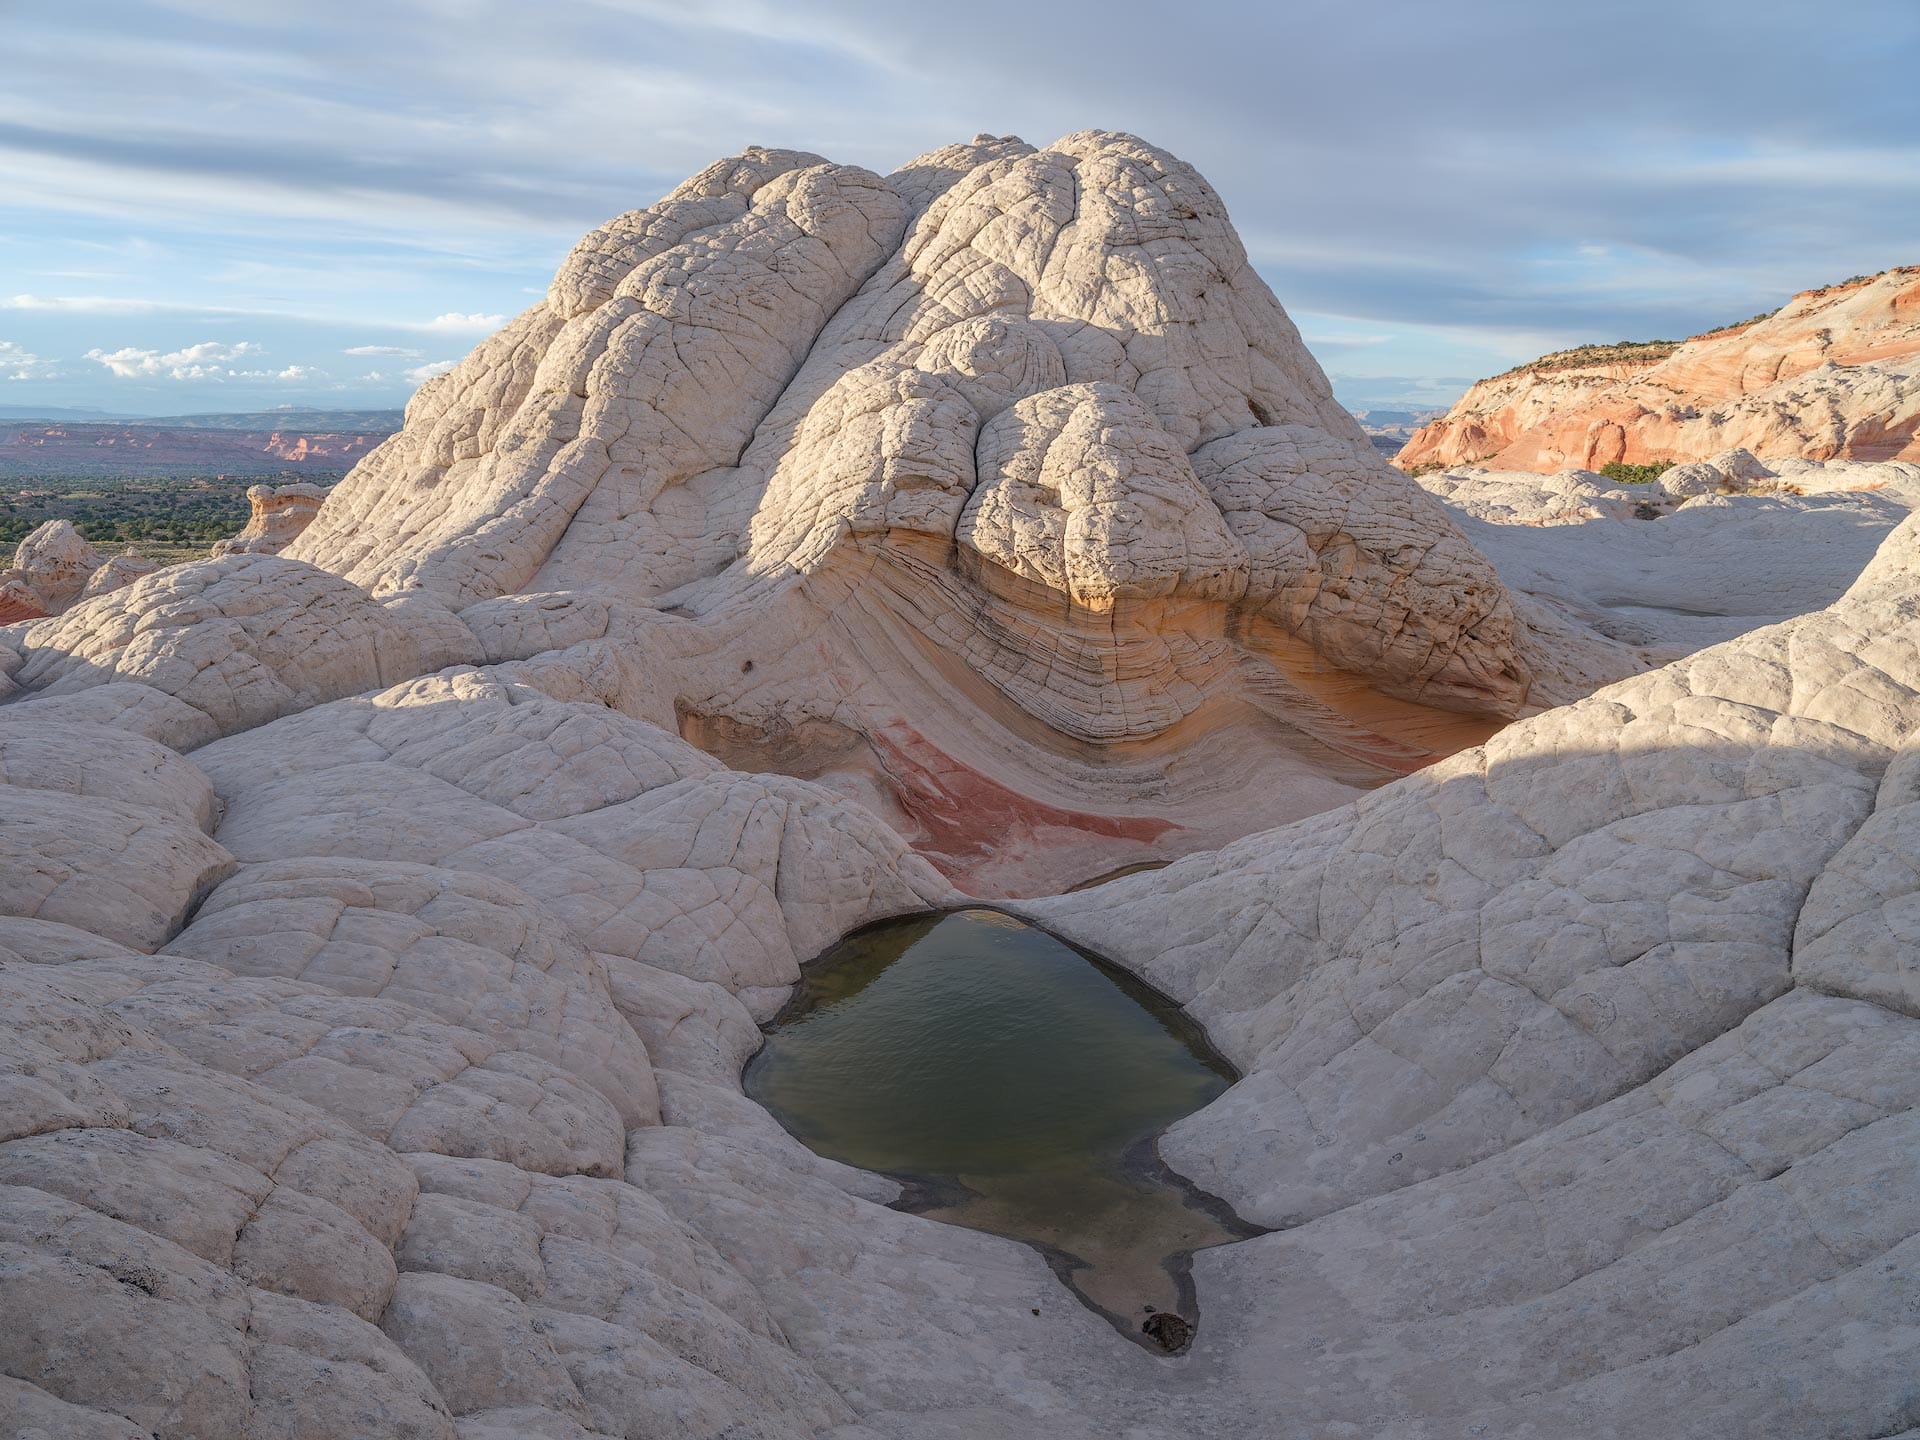
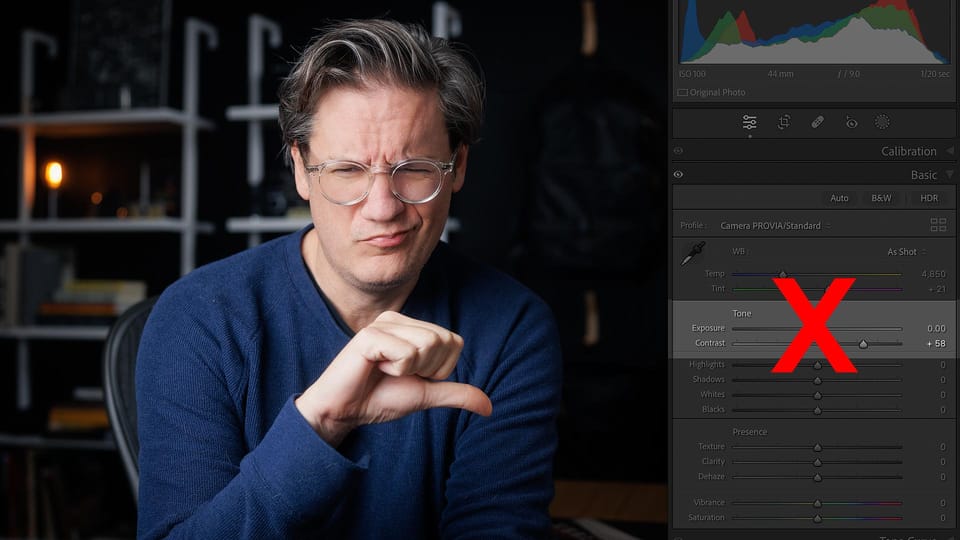
Positive net improvements, especially in the bright highlights where more detail and texture are now visible. But that change has unintentionally made the image a bit flat and vague because more of the bright and dark tones now sit closer to middle gray. How do we resolve this? How do we bring back some of the punch and contrast of the original, straight out of camera raw file? Well, your first instinct may be to use Lightroom's "Contrast" slider, for that is what the tool was designed for, right? Let's give that a go and see the effect it has.
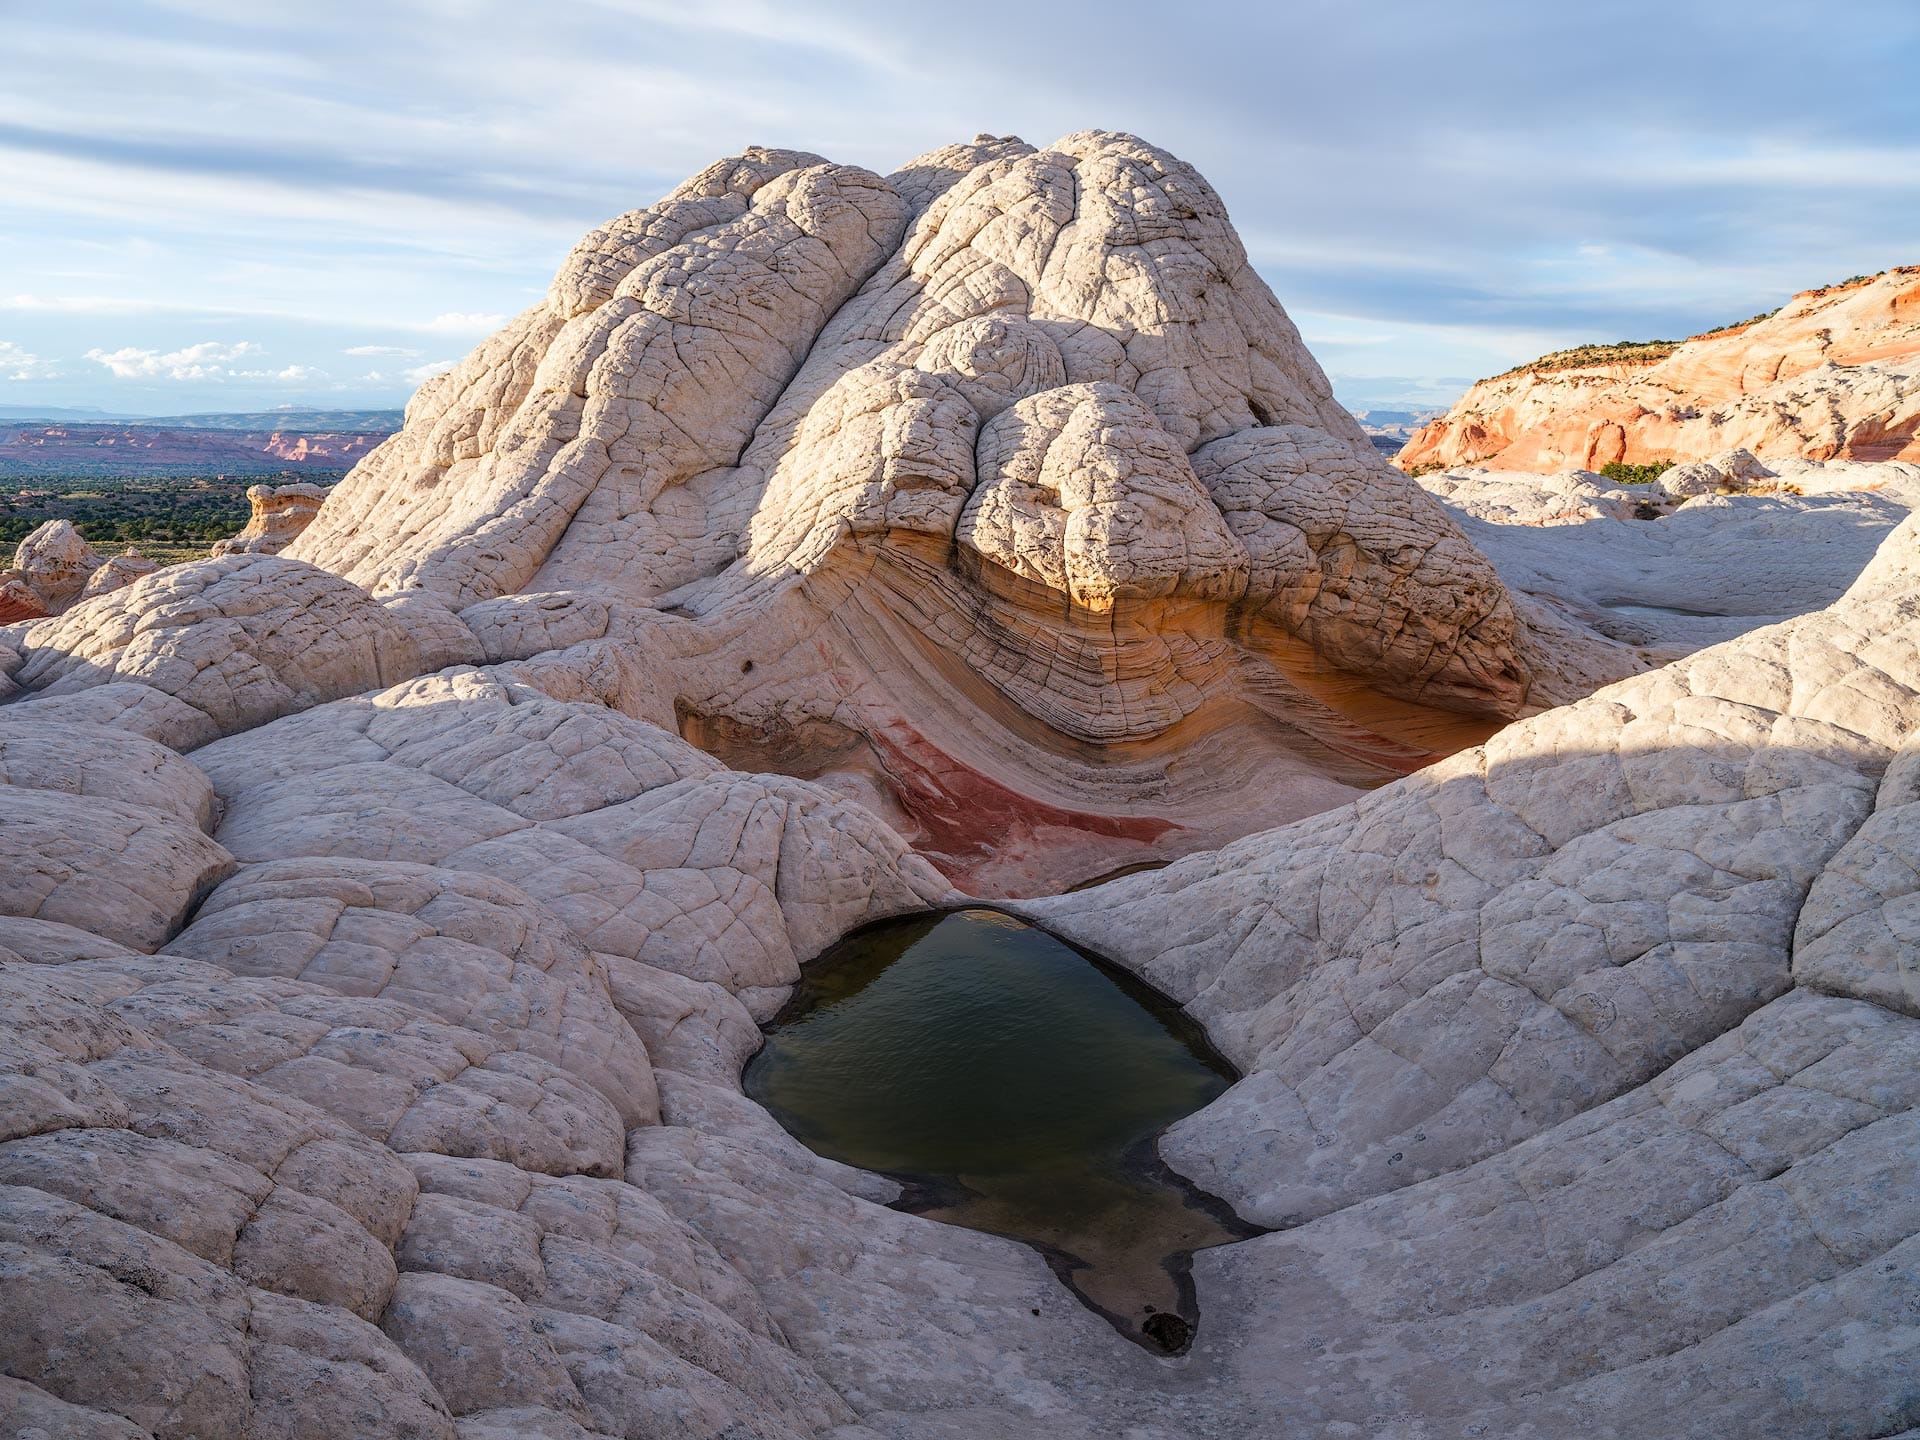
Ooof. The image definitely has more punch now, but the highlights have lost most of their recovered detail and the shadows are denser and more colorful (and not in a good way). The happens because Lightroom's "Contrast" slider is a blunt instrument. It pushes the highlights brighter and shadows darker in equal proportions, with most of its effect applied at the high and low end of the tonal scale; effectively undoing our highlights and shadows edit from earlier. Contrast also has a tendency to boost saturation and make colors appear brighter and more artificial.
What this image needs is a more tailored contrast adjustment primarily focused on the midtones. The middle region of the tonal scale, where more of the tones now live. That way, we are maintaining recovered detail and a softer overall tonal balance, while also bringing back depth and dimension. Protecting the darkest shadows and brightest highlights, while also increasing overall contrast.
I removed Lightroom's Contrast adjustment from the image, then added a targeted midtone contrast in Photoshop, resulting in the following edit.
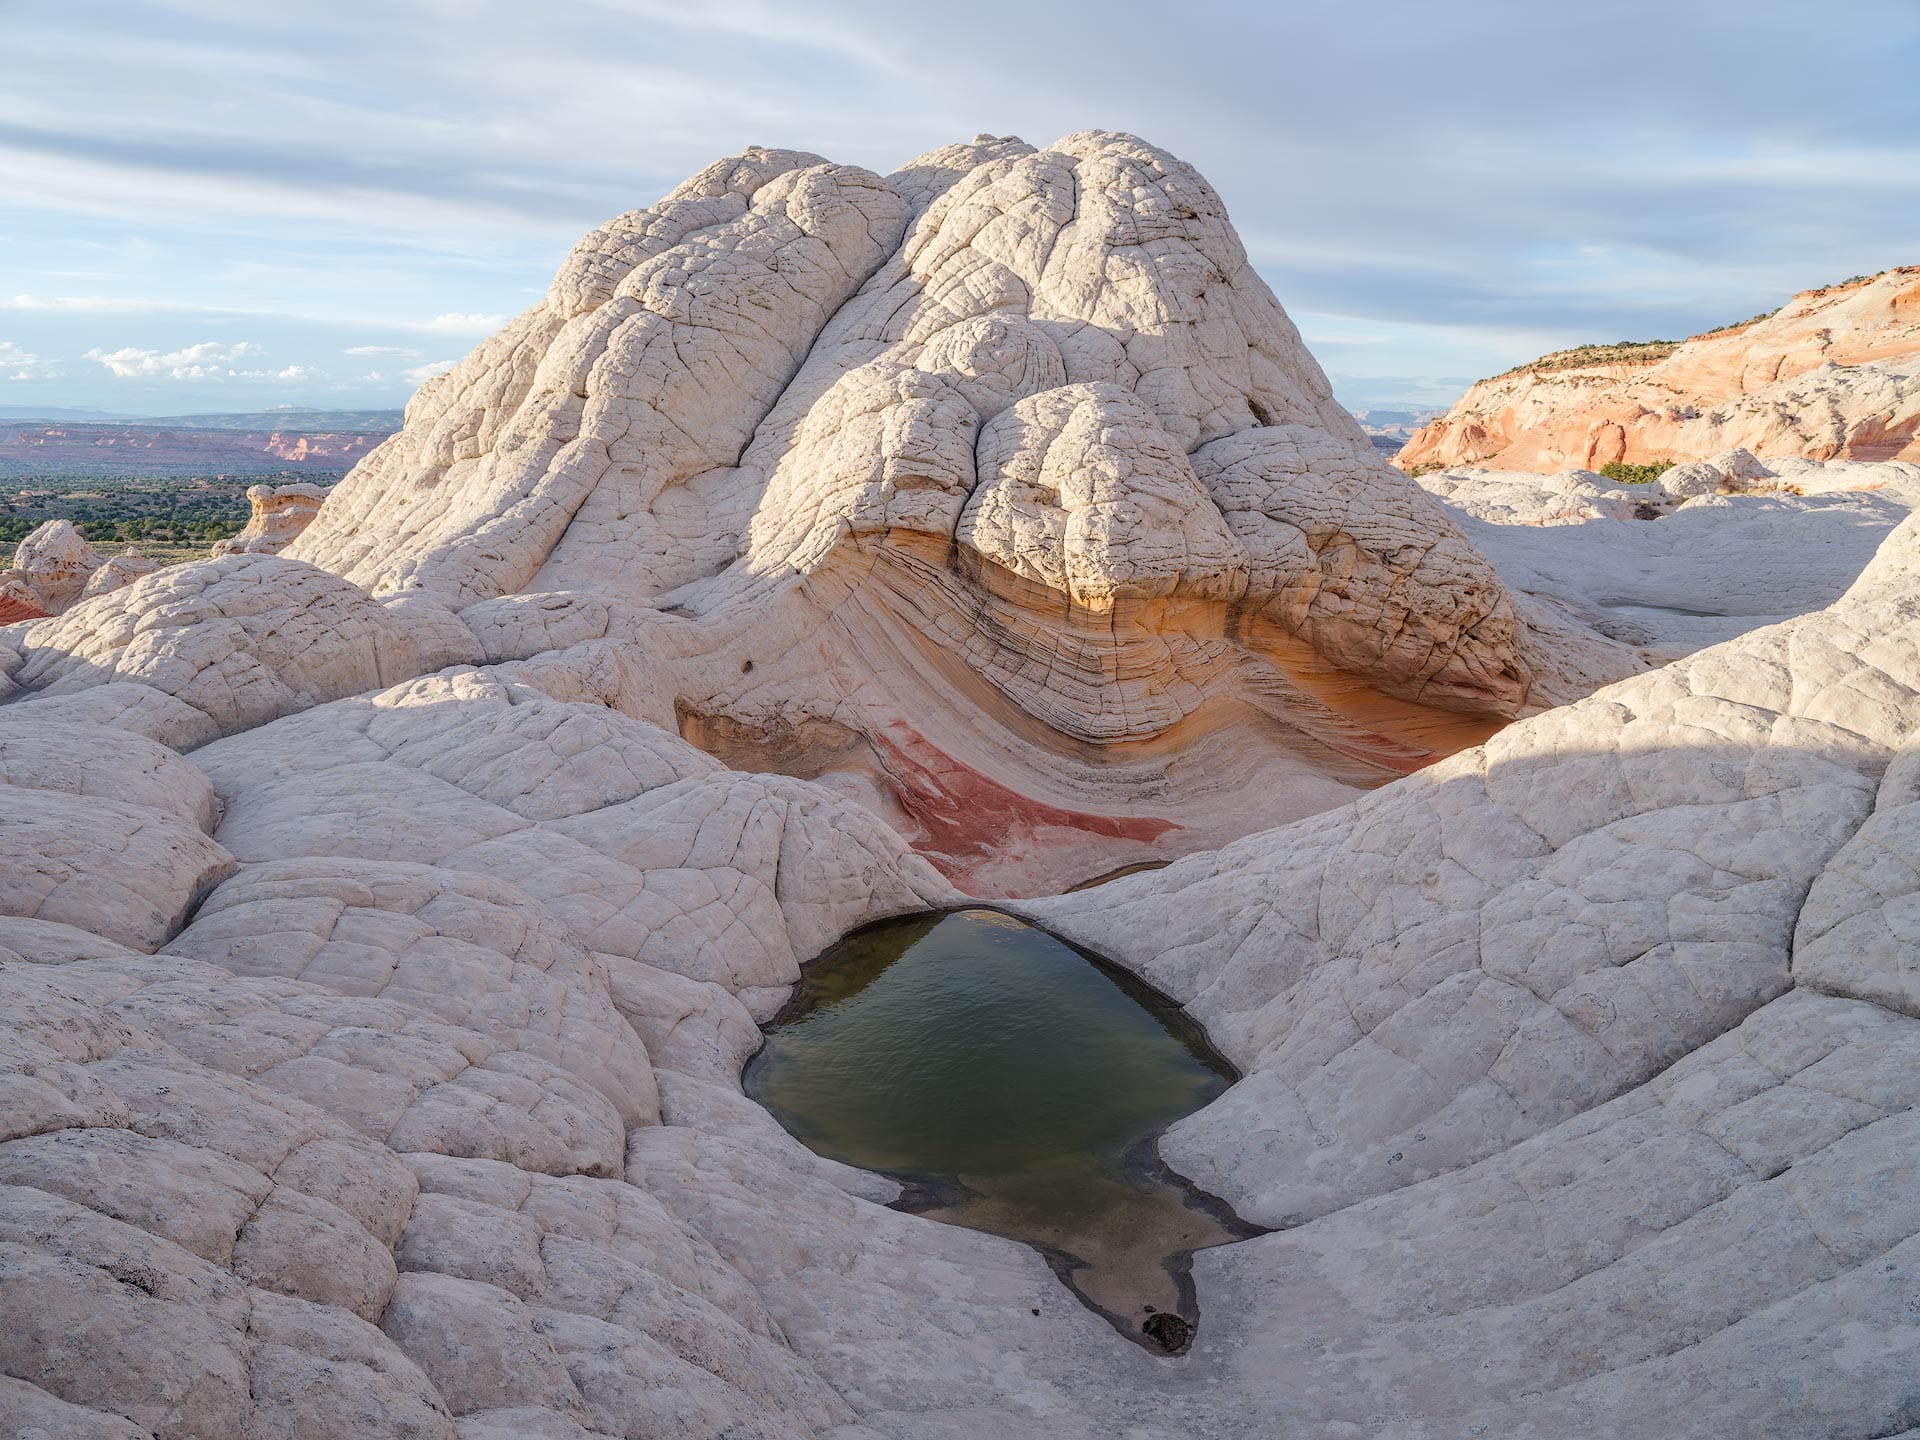
The image now has more punch and dimension, but without adversely affecting the brightest highlights and darkest shadows. More editing could certainly be done (hue adjustments, dodging and burning, etc), but for me this is a better baseline to work with.
There are variety of ways to accomplish this in Adobe Lightroom and Photoshop, with the latter offering the most precise control. To learn how, check out my latest video below.
Thank you to Squarespace for sponsoring this video. Sign-up for a free 30-day trial, and whenever you're ready to go live or purchase a new domain, use promo code DOMINEY to save 10%.